

NEWS & UPDATES
10 Tips to Help Battery Life
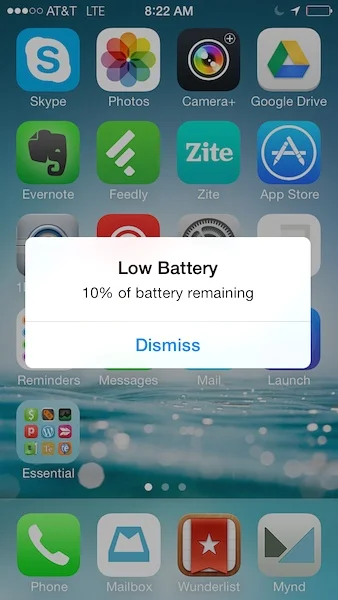
Battery life. It’s something we all consciously and subconsciously think about with all our devices but especially our phones. There’s nothing like that sinking dreadful feeling you get when you look down at your phone and it’s less than 20% and you have no way to charge it. This post will give you tips on how what to do in that scenario as well as how to get your battery to last longer day-to-day and also how to extend the life of your battery.
Similar to having a view to manage your storage, iOS has a menu to view your battery usage. This menu shows you what apps have used the most battery in the last 24 hours as well as over the last 7 days. From here it will give you a good idea of where a good portion of your battery is going, exactly how much of your battery is being drained from all that Facebook browsing.
Getting to this menu is easy, simply go to Setting>Battery. Once the menu loads it will order the apps by percentage battery used. Next to “Last 24 hours / Last 7 days” there is a little clock, tap this to activate a more detailed menu showing time on screen and time in the background.
1. Background App Refresh
If you take anything away from this article hear this: **Stop force closing all your apps.** This is a huge myth that has perpetuated over time from person to person and is actually worse for your battery then just leaving them be. Not to be too detailed about it but almost immediately when you leave an app it goes in to a deep freeze. If you launch it back up soon after it will pick up where you left off as it is loaded into your phones RAM. Otherwise if you don’t use it for a while it goes away on it’s own.
The real battery drain is a feature called “Background App Refresh” which does what it sounds like, it launches an app in the background so it stays up to date when you want to open it. Sounds great unfortunately it allows many apps significant power drain. To turn this feature off simply go to Settings>General>Background App Refresh and from there you can toggle it off for individual apps or off altogether.
2. Mail Fetch
Having your e-mail accounts on your device can be super convenient (or a little annoying always having e-mails pop up). The more mail accounts you have and the more often they are updating the more your battery drains. To change the retrieval settings for the mail accounts go to Settings>Mail>Accounts>Fetch New Data. The option that uses the least amount of battery will be setting ‘Fetch’ to ‘Manual’. When you set this option your phone will only check for mail when you launch the mail app.
If the option for ‘Push’ is available that is generally not too battery intensive. Instead of the phone check with the e-mail server to se if there is any new mail, the e-mail server will just send the mail to the phone when it arrives. If ‘Push’ is not available then you will want to set ‘Fetch’ as least often as possible.
3. Location Services
Location services are a very useful feature, I for one use an app called Waze very day to see if there is traffic along my route to and from work. Different apps use your location to give you recommendations based on where you are. To manage location services go in to Settings>Privacy>Location Services and from here you can manage when or even if certain apps are able to access you location.
At the bottom of the menu there is a menu called System Services. From this menu you can toggle system location services su as location based ads. Some of these you will want to leave on such as setting time zone. One last menu deeper is an option that is a pretty big battery drain, ‘Frequent Locations’. Turn this off and it will help your battery life pretty drastically.
4. Display Settings
Just having your display on at all drains your battery, the screen and backlight draws more power than almost anything else on the phone. Keep your phones backlight as low as tolerable to save much battery power. Have your phone set to lock in as short a time as possible. These options can be managed under Settings>Display and Brightness.
One more display setting you can turn off to save battery will be a personal preference. This setting will turn off a lot of the fancy transition graphics going from app to app and back to the home screen. To turn this off go to Settings>General>Accessibility>Reduce Motion.
5. Push Notifications
Getting push notifications all the time can be a big battery drain. Piggy-backing on the screen draining power, every time you get a notification your screen turns on which drains just a little more power. To manage what apps get notifications and where you see them go to Settings>Notifications. From you here you can turn notifications on or off, set whether they appear in the lock screen or see how they appear on the screen, as banners or pop-ups.
6. Spotlight Indexing

Your iPhone keeps an index of all your devices contents, e-mails, messages, contacts, everything. Every so often your iPhone will re-index to check for anything new, any changes. Unfortunately there is no way to straight up disable Spotlight but you can choose what it indexes. Simply go in to Settings>General>Spotlight Index and you can turn off whichever apps you don’t need to be able to search through.
7. Data Network
Without data your phone would be nearly useless but your phone uses a different amount of power depending on whether it’s using wifi of LTE. Using your phone on wifi will use the least amount of battery and using your phone on LTE will use the most amount of battery. (Using your phone on wifi will also use less of your phones data plan, but that’s a story for another time.)
When you are out and about and are not using wifi, it is best for battery life if it is turned off and not searching around for networks to join. Worst case scenario if you need to drain every ounce of power from your draining battery it is also recommended to turn off your LTE. You can do this by going to Setting>Cellular>Cellular Data Options and toggle LTE off.
8. Low Power Mode
This is an option you can enable sooner but will automatically prompt you when you get down to 20%. Low Power Mode is a battery saving mode you can put your phone in to. It will automatically disable a few power hungry background features (most of which are listed above). According to Apple, low power mode limits the following features:
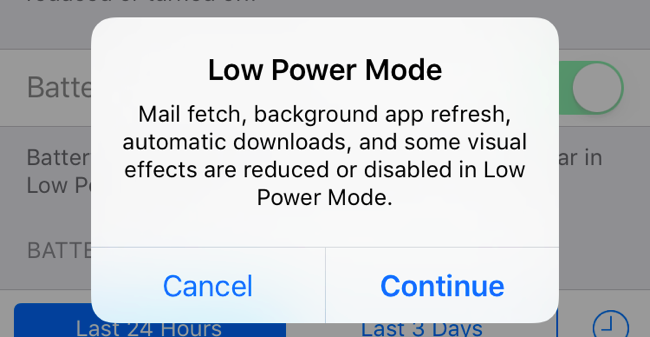
- Email fetch
- "Hey Siri”
- Background app refresh
- Automatic downloads
- Some visual effects
- Auto-Lock (defaults to 30 seconds)
9. Ambient Temperatures
Batteries can be greatly affected by ambient temperatures, too cold and it can’t work, too hot and it drains quickly. If you’re ever had you phone out in the winter and it turned off before it ran out of battery, this is why. The recommended operation temperatures for an iPhone are between 32º to 95º F. Your iPhone battery heats up while charging, too. To keep it cooler while charging it is recommended to take it out of it’s case, the case can insulate the phone and trap heat allowing the phone to get warmer than it should.
10. Charging Habits

Speaking of charging, there are some habits to follow to get the most life out of your battery. First and foremost, only use Apple approved charging cables and charging blocks. Typically, Apple approved equipment follows what Apple classifies as MFI or Made For iPhone. Low quality and cheap stuff can cause major problems, even going so far as to short out your phone causing it to catch fire. Now that rarely happens but you still want to be careful.
Another thing you can do to help the longevity of your battery is to let it drain as much as possible (down to below 10-20%) and leave it on the charger until it get’s back up to 100%. Now, it is not necessary to do this every time, battery technology has greatly improved over the years. If you need to occasionally only charge it a bit to top it off, go right ahead.
Say Goodbye to the iPod Nano
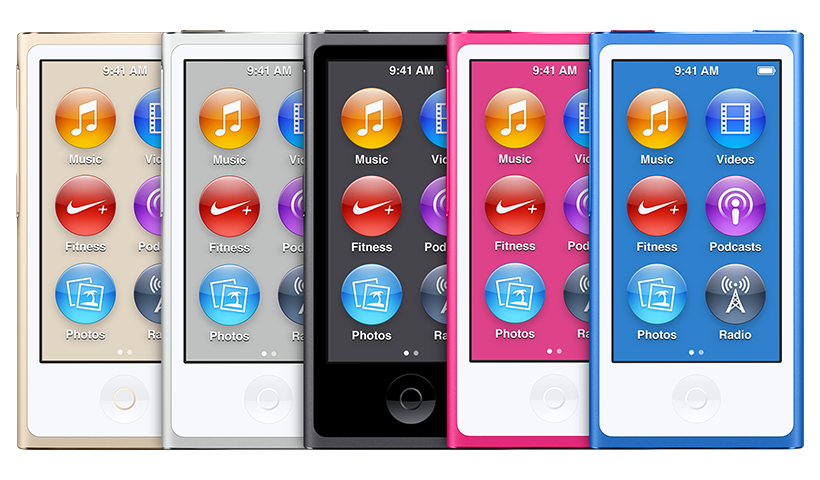
Well, it's official. Apple has discontinued yet another of it's iPod line, the iPod Nano. Apple has been narrowing it's iPod line for years now starting with the click-wheel iPod classic back in 2014. The iPod lineup has been ever-shifting with different models like the mini and the shuffle, each having a unique place in the iPod line. Now Apple is making it easy to choose which iPod to buy with less options to choose from, which color and how much storage.

An Apple spokesperson said, "Today, we are simplifying our iPod lineup with two models of iPod touch now with double the capacity starting at just $199 and we are discontinuing the iPod shuffle and iPod nano.” Thankfully Apple did increase the storage capacity for the Touches at the same price point, previously they were offering 16GB and 64GB.
10 Ways to Free Space on Your iPhone or iPad
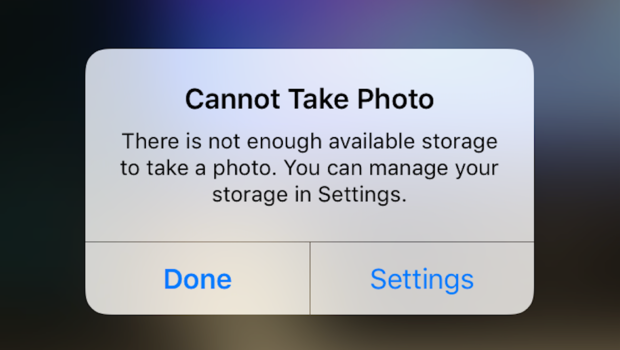
If you were like me you didn’t want to spend the extra $100 to get the iPhone with extra space thinking, “Oh I don’t keep a lot of stuff on my phone, I will be just fine.” Now, you keep seeing the awful message pop up telling you your “iPhone storage is almost full”. I have compiled a few tips to help you clear some much needed space from your iPhone or iPad.
1. Apps // Delete app data
The first thing you want to do is to see where all your space is being taken up. iOS has a nifty feature that gives a pretty detailed overview of you storage space. To see this go to Settings>General>Storage and iCloud Usage and tap on iPhone Storage. Once this screen populates it will show you how much data each app is using. From here you can decide what you need to focus on to help clear space on your iPhone device. If your Notes app is saying there is hundreds of MBs being take up then it may be time to go through and purge your Notes. If you have a video player app that has hundreds of MBs or even GBs there may be video in that app that can be deleted. Or even if there is an app you haven’t used in months or years you could straight up just remove the app from your phone.
2. Update // Install that update
When Apple releases a new update they try to make it as easy for you as possible. One of the things they do is automatically download the update to your device so that when you are ready to install it it is already there for you and you don’t have to wait for it to download to install. This can be convenient but sometimes updates are fairly large in size. It is best to run the update and install it, that will then remove the installer from your device. If you are hesitant about updating it you can delete the installer from your device by going to the iPhone storage menu in Settings>General>Storage and iCloud Usage. From here you should be able to see the installer and remove it.
3. iMessages // Stop keeping all your messages forever
If you have never changed this setting it is automatically set to keep all your message and attachments forever. And if you are like most people you send and receive a decent amount of attachments, whether they are pictures, videos or even stickers. Keeping all these is fine on your computer with all the free space it has but with the limited space your iPhone has it can be a huge drain. **Before you enable this setting be sure to go through all your picture attachments and save any you want to keep.** To enable this setting to automatically delete older messages and attachments simply go to Settings>Messages and scroll down till you see ‘Message History: Keep Messages’ . Simply tap this and select whether you would like to keep for 30 Days or 1 Year. When you select something shorted than “Forever” a pop-up will appear asking if it is OK to delete older messages. Assuming you have saved everything you want to keep simply select “Yes” and it will delete anything older than the time period you selected.
4. Photos // Empty the trash
Similar to a computer, when you delete photos they don’t disappear completely. They go in to a special folder where they sit for 30 days, that way if you accidentally delete something it isn't lost immediately. Handy, but this can take up space you thought you were freeing. Simply go to Photos>Albums and scroll down until you see ‘Recently Deleted’ and tap it. Then tap ‘Select’ at the top then at the bottom tap ‘Delete All’ and confirm. This will immediately purge all deleted photos from the ‘Recently Deleted’ folder.
5. Safari // Clear the cache
This tip is doubly useful in that it can help if you accidentally clicked a nefarious link and your Safari app is locked up with an e-mail pop-up or ad pop-up. **Keep in mind this will also delete your browsing history from all devices signed in to iCloud, including your computer.** To clear this data go to Settings>Safari and scroll down until you see ‘Clear History and Website Data’. Tap this and then confirm to clear this data.
6. Photos // Don’t save duplicate photos
By default your iPhone has two things enabled: HDR and Keep Normal Photo. HDR is an amazing feature where (in the right conditions) your iPhone will actually take 3 photos and combine them to highlight as much light and dark detail as possible. But, by default your phone will also take and keep the non-HDR photo at the same time. To turn this off simply go to Settings>Photos and Camera and turn off ‘Keep Normal Photo’. *Side Note: If you have an iPhone 7 Plus there is similar setting to turn off for portrait mode.
7. Music // Remove downloaded music
If you have music synced up to your iPhone you don’t have to hook your phone back up to clear music you don’t need anymore. And sometimes in order to play certain songs your iPhone will automatically download them to your iPhone. To check and clear these songs simply go to Settings>Music and scroll down to ‘Downloads’. Tap this and you can then swipe to delete any songs you want to clear off your iPhone. **Other music service apps have the ability to download music for offline listening, be sure to check any other music apps you might have such as Spotify or Amazon Music.
8. Photos // Turn off Photo Stream
Another photos tip! If you’re like most people you aren't even aware of what Photo Stream is or does. Not a big deal but it is on by default and even tho they don’t take up as much space the photos in your Photo Stream are still there take space. To turn this feature off simply go to Settings>Photos and turn off ‘Upload to My Photo Stream’. The photo stream photos will then be removed from your iPhone but if you decide to turn this feature back on the photos will stay saved on iCloud for 30 days from when they were uploaded.
9. Safari // Purge your reading list
Even if you are not familiar with what Reading List is, I would still check this feature. There have been times when even I have accidentally added something to my Reading List. This feature has it’s uses, it saves a website to be available to read later even if you have no internet connection. To clear Reading List pages go to the Safari app and tap the book button at the bottom then tap the glasses icon. You can swipe to delete any pages in the list. **Note: This will delete the pages from all your devices Reading List.
10. Podcasts // Delete downloaded podcasts
I like to listen to podcasts but I don’t need them taking up my precious iPhone storage space. If you want to turn off automatic downloads of Podcasts you listen to just to to Settings>Podcasts and scroll down to ‘Download Episodes’. Tap this and then set to ‘Off’, this will prevent future episodes from being downloaded to your device. Now, to purge any that have previously been downloaded go to Settings>General>Storage and iCloud Usage. Under iPhone storage scroll down to Podcasts and tap it. From here you can swipe to delete any needed podcast episodes.
Apple Releases Update 10.3.3 for iOS
Update Tuesday! Apple has released an incremental update ot iOS 10 for iPads, iPhones and iPod Touches. There are no major feature changes, only bug fixes and security improvements to iOS.
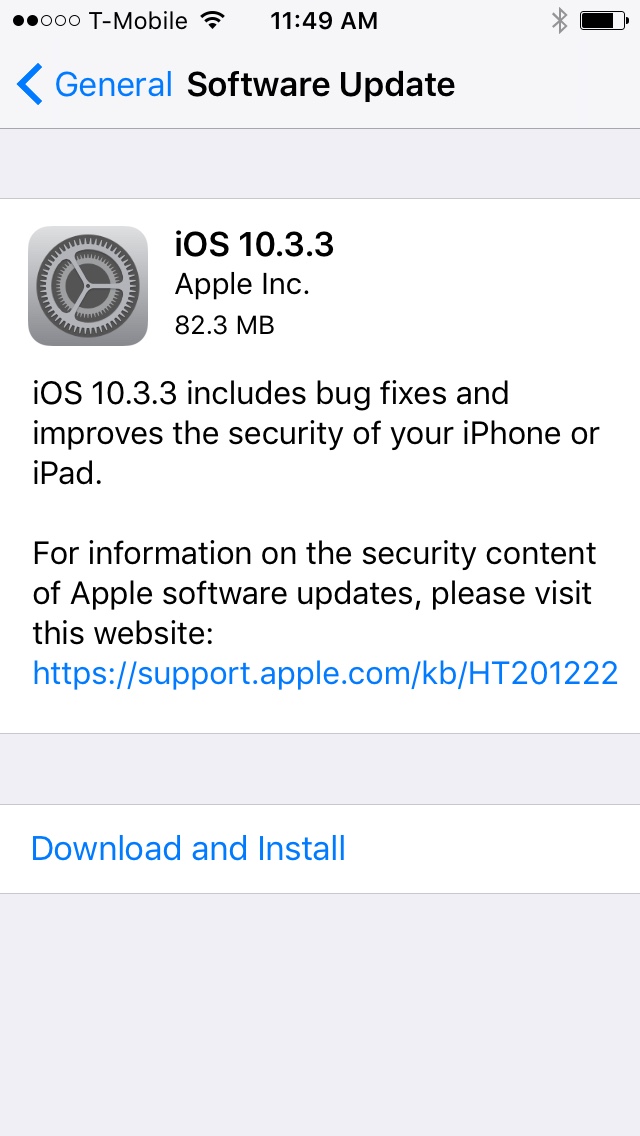
This update is recommended for all users currently running iOS 10 and is free to download via Settings>General>Software Update. As always it is recommended that you make sure you have a current backup before you perform the update.
This will be one of the last update to iOS 10 as Apple will be focusing more energy on the next version, iOS 11, coming this fall. If you want to try the new version of iOS, Apple has a public beta program. You can visit www.beta.apple.com for more information.
Apple Releases Update 10.12.6 for macOS Sierra
Today, Apple released what is probably going to be the final update to macOS Sierra version 10.12.6. This update is a free update to all users currently running macOS Sierra. There are no major features or changes with this update, it simply focuses on security, stability and compatibility for your Mac.

To perform this update simple go to the Apple menu in the top-left of you Mac and then click App Store. There is an "Updates" section of the App Store, that is where you will find the update.
This will most likely be the last incremental update for macOS Sierra as Apple begins to focus more energy into the next iteration of it's macOS, High Sierra, coming sometime in the fall.